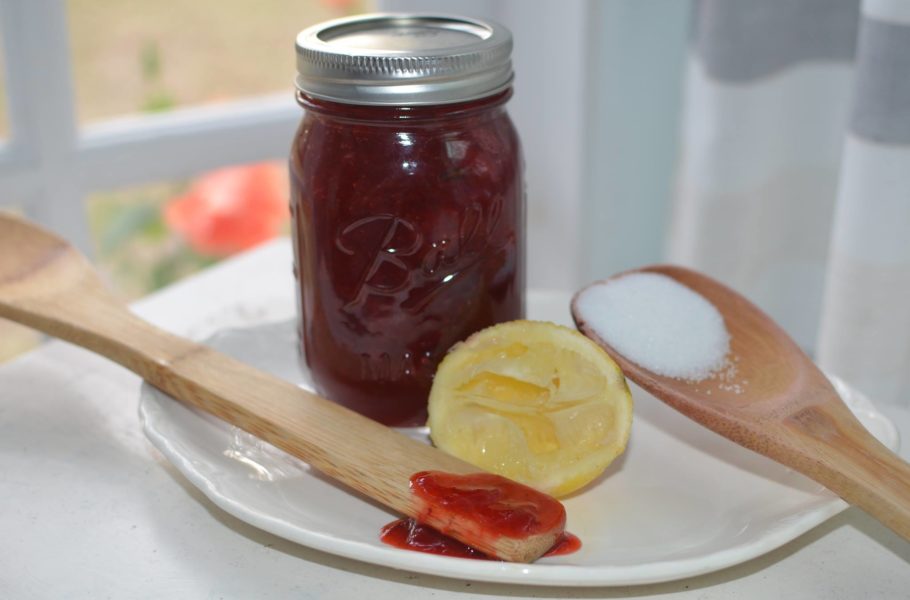
How to Make Low Sugar Jam without Pectin
Spring is on the way and that means it’s strawberry season. I don’t know about you but who doesn’t want to attend a strawberry festivals? This Florida gal could not wait to load up on wholesome plant based fruits when seeing them at the local festivities. Yes, there were a tremendous amount of strawberries for sale but would you believe, no jam? Seriously, where were the ladies selling the baked goods and jam from their great grandmothers cookbooks? I left without jam but didn’t come home without two flats of fresh strawberries and one family photo.
Fruit preserving was our next task. With my husband’s help, we searched the internet and quickly realized, jams are high in sugar. Only two weeks ago I started a new workout and nutrition program. So, to be honest, the recipes found did not fit any nutritional diet. My husband and I talked it over and decided to cut the sugar in half (which is still a lot). This would be more healthy and allow us to still have our high hope for success. To our surprise, it worked and now we’re excited to share the recipe with you.
- 8 cups firm ripe strawberries
- 1 and 1/2 cups, add by a 1/2 cup until the reaches desired sweetness level
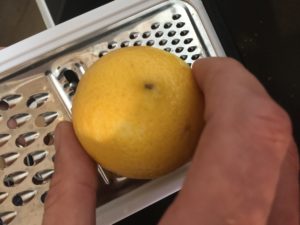
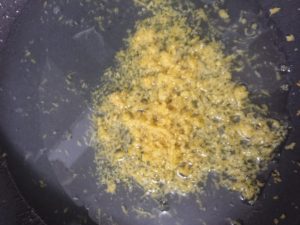
- 2 rip lemons, the juice and zest (the zest is the pectin source, this is the natural “set,” or gelation)
TIP: Lemon juice is added to most jam recipes: for safe canning to prevent bacteria growth. Choosing a ripe lemon to ensure a greater amount of acid which will help you achieve the proper set.
- Heat your water in your hot water bath canner. Wash jars and bands in hot soapy water and rinse.
- Rinse and hull your strawberries. Cut berries in quarters
- Get a large stock pot and a citrus zester or use a grater. Zest the peel of the lemons into your pot. Cut lemons in half and juice or squeeze. Poor liquid into pot. Make sure not to get any seeds in pot.
- Slowly stir in your sugar over medium heat. Bring to a boil, stirring constantly, until sugar combines into a syrup consistency.
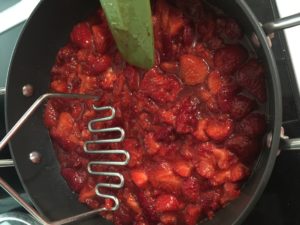
- Take pot off of heat and dump in strawberries and mash using a potato masher. Stir to fully coat with syrup and leave for 20 minutes. For chunky jam do not mash.
- Put pot back setting heat on high. Stir frequently, bring strawberry jam to a boil. Once jam begins to boil, stir constantly.
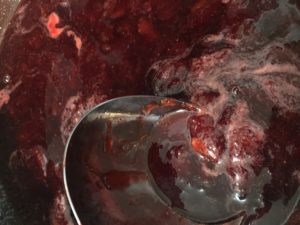
- Stir for 8 minutes, or until jam sets. Jam has set when it sticks to back of spoon.
- Ladle your homemade strawberry jam into jars with a 1/4 inch head space, wipe rim with a damp cloth, place lid and screw band snugly (do not over tighten).
- Place filled jars into hot water bath, be sure the boiling water covers the top of the jars by 2 inches, and process for 10 minutes. Take out and place on a folded over towel for 12 hours, then store in a dark cool place.
TIPS: Jam reaches its jelling point at 220 degrees. Be sure to stir your jam as it’s cooking to avoid scorching the jam. If you notice your jam is too thin after you’ve sealed it, you can return the jam to the pot, add more sugar, and reprocess it using new lids and clean jars. I like mine a runny but I like less sugar and more strawberry.
I hope this recipe lands you many compliments and smiles. Be sure to make a few jars and give them to those you love and those in need. This week at church the pastor spoke about being generous, Proverbs 11:24-25. How you can be generous today?
If you are not a cook but would like to try our homemade jam, please contact us for pricing and shipping information.
Click Below To Visit Our Store
Archives
- July 2020
- April 2020
- March 2020
- October 2019
- February 2018
- January 2018
- December 2017
- November 2017
- October 2017
- September 2017
- August 2017
- July 2017
- June 2017
- March 2017
- January 2017
- November 2016
- October 2016
- September 2016
- August 2016
- July 2016
- March 2016
- February 2016
- January 2016
- December 2015
- November 2015
- October 2015
- September 2015
- August 2015
- July 2015
- June 2015
- May 2015
- April 2015
- March 2015
- February 2015
- January 2015
- December 2014
- November 2014
Up and Coming Events
| M | T | W | T | F | S | S |
|---|---|---|---|---|---|---|
| 1 | ||||||
| 2 | 3 | 4 | 5 | 6 | 7 | 8 |
| 9 | 10 | 11 | 12 | 13 | 14 | 15 |
| 16 | 17 | 18 | 19 | 20 | 21 | 22 |
| 23 | 24 | 25 | 26 | 27 | 28 | 29 |
| 30 | ||||||


