

I’m just a folk, maybe like you. My life’s profession was teaching so I’m no millionaire, but I’m quite comfortable and thrilled to have loved my years in the classroom and on the administrative side as well. Now, I’m doing things I want to do like paint, buy and sell stuff, work my little business, and raise chickens.
Being on a set salary, I look for bargains at every turn. Today, I wanted to provide a hen house for my Black English Orpington girls. Since I’ve had them ( about a month), they have been in a large crate at night and in the day can enjoy time out in the run. But, for night safety I’ve been concerned, so today, I went to Lowe’s and on sale were 2 fence panels. When I saw that perfect siding for a hen house, I gave Lowe’s my business. I shopped the store for wire, eight 2 x 4’s, 3 inch screws, 10 penny nails and 2 sheets of thin plywood.
When I got home, low and behold the yardman, Larry was there! “Yay”, I thought. I asked if he’d be interested in helping me build a chicken coop and the task was on.
Here’s the result:
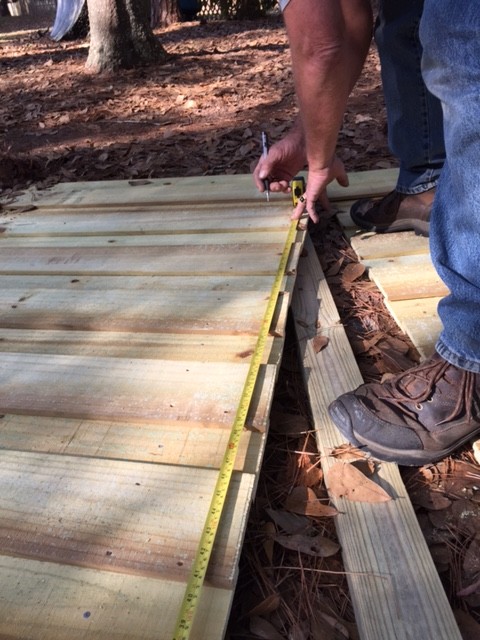
The measurements were based on the size pen already in place otherwise, we would have used the 8 foot panel. For the space needed, they had to be cut to fit.
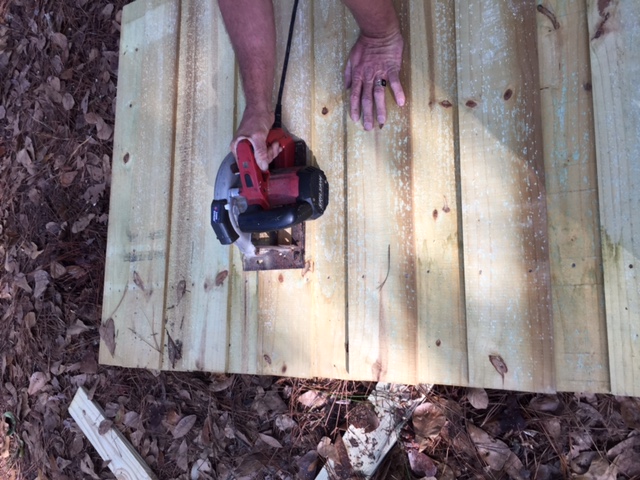
The panels were cut to size 6′ x 4 ”

(Do you see the babies huddled in the center crate?) They are fighting to all get in the same side of the double crate! Funny birds”).
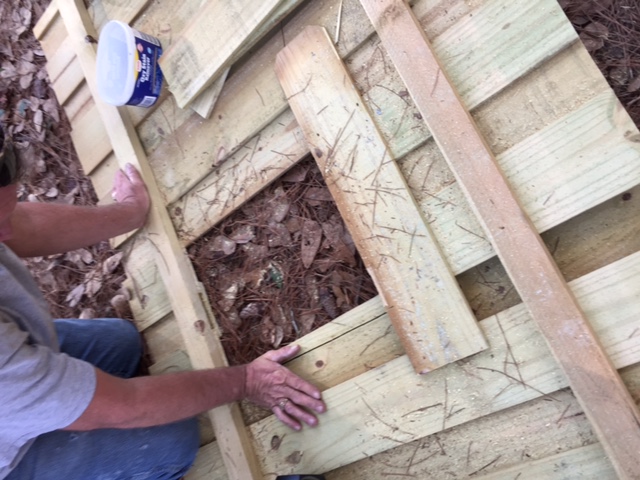
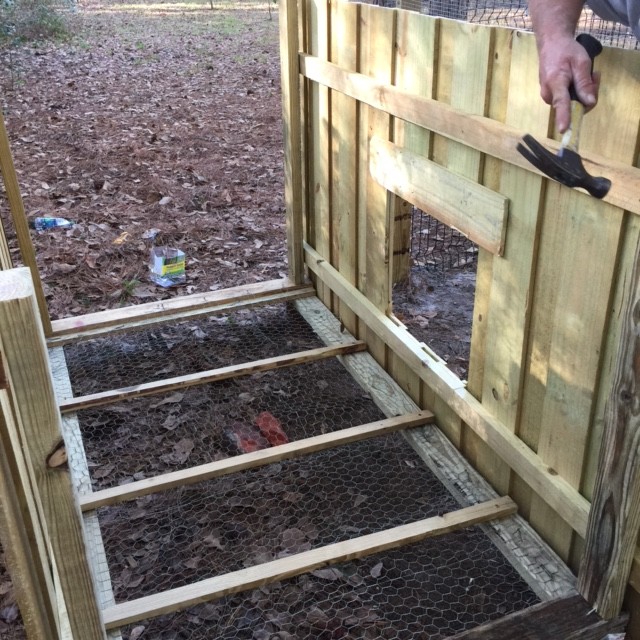
The frame was built and floor covered with chicken wire to allow dropping to fall underneath. Bricks were used to keep the pen off of the ground so termites wouldn’t eventually eat the wood. Small planks were placed a foot apart so chicks could easily walk inside before jumping or flying up to the roost and for attaching the wire.
The door was placed in the center by dividing the panel in half and measuring out a door in the exact center of the front.
The back was placed first and then the front.
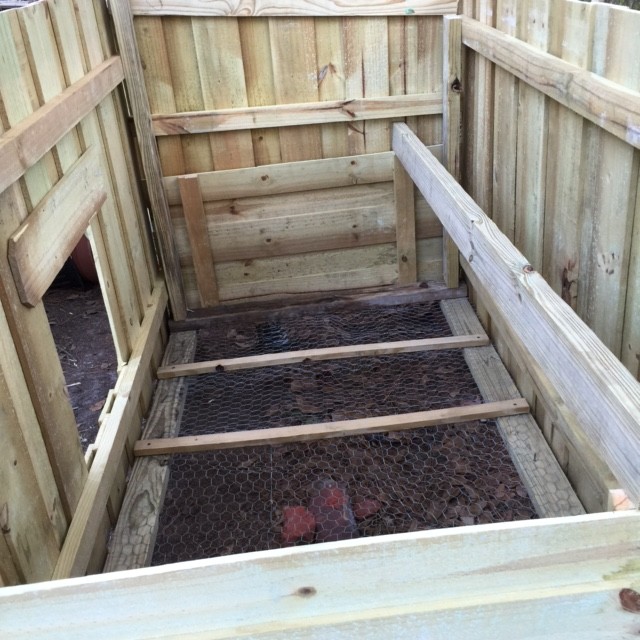
We used the left over wood from the front and back to build the sides.Both ends are slanted with a 3 inch pitch on the front for the rain to roll off. It took 2 pieces to cover each end and then we used a 2 x 4 to provide a perch. I’m thinking about adding a smaller perch as well.
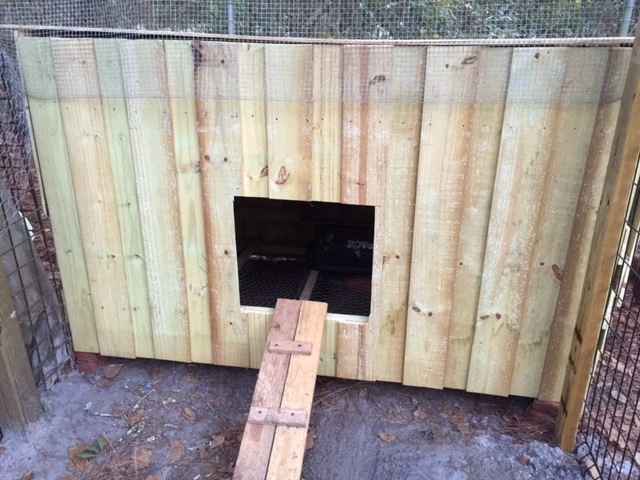
After finishing the back and front, we added a roof by using an 8 foot sheet of plywood. It hung over the right end and I’ll use that area for placing the food container out of the weather. There is still a little to do like put shingles on the roof and add a sliding door to the front.
I put the babies inside before leaving for the day. To be safe for tonight I covered the door with a crate for security. The babies did not get up on the perch. They don’t understand how at this point. When I looked inside, they were bunched together in the corner; warm and snug.
While I really enjoyed the project today, I’m not going into the coop biz.. I’m retired! Remember! But, I loved saving all of that money and I really loved the babies being safe and secure in their new house. When I priced coops this week, they were $500 and up. I paid $15 for each wooden panel(because I got it at the bent and broken corner of the store). All-in-all, I paid $80 for supplies plus paid the yard guy.(Can’t discuss his salary. You might take him away! LOL). ‘Pretty good deal for this chicken farmer!